So I used inventor to make my widget with a 3D printer. It was confusing at first, but when you get the hang of it, it is a breeze! You just have to know how to dimension, and extrude and know how things relate to real life proportions. I am going to go into detail on the first widget I made.
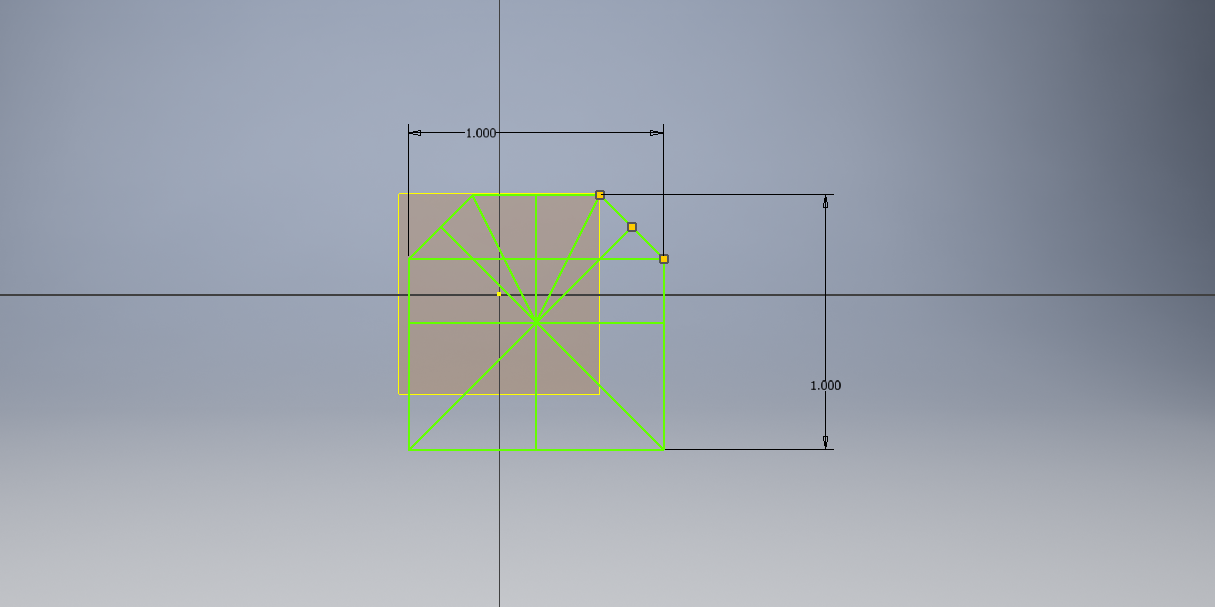
This is me shaping the widget.
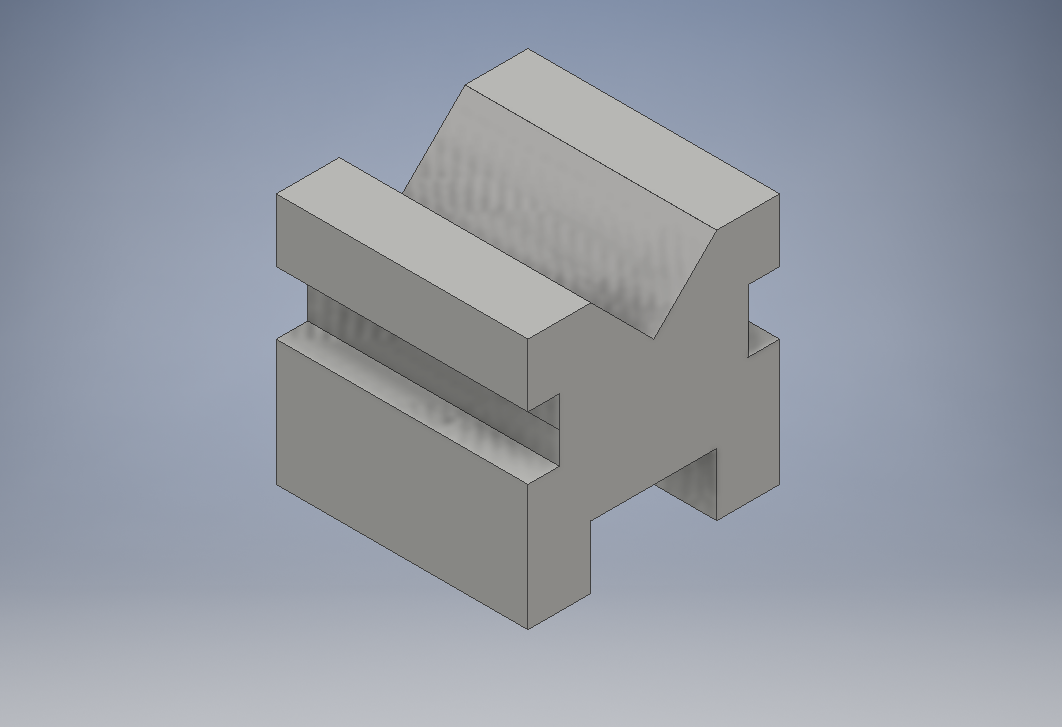
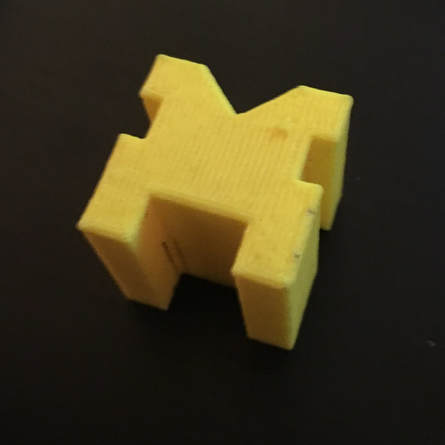
This is what it looks like when I extruded the widget, and before I transferred it to maker bot.
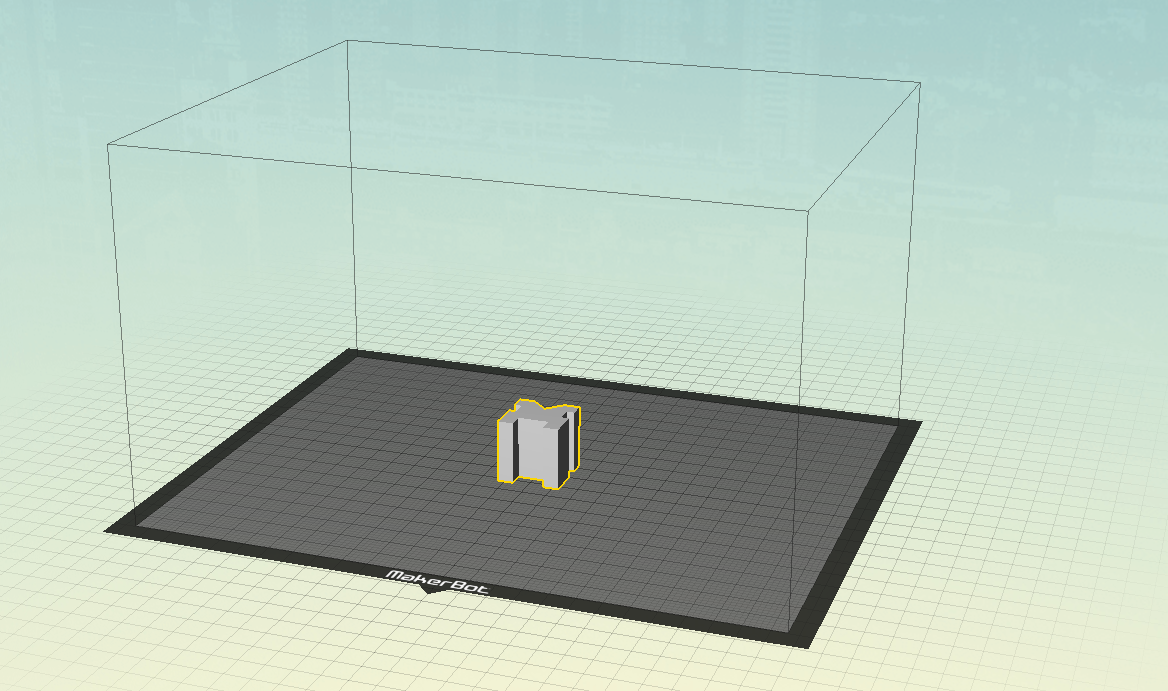
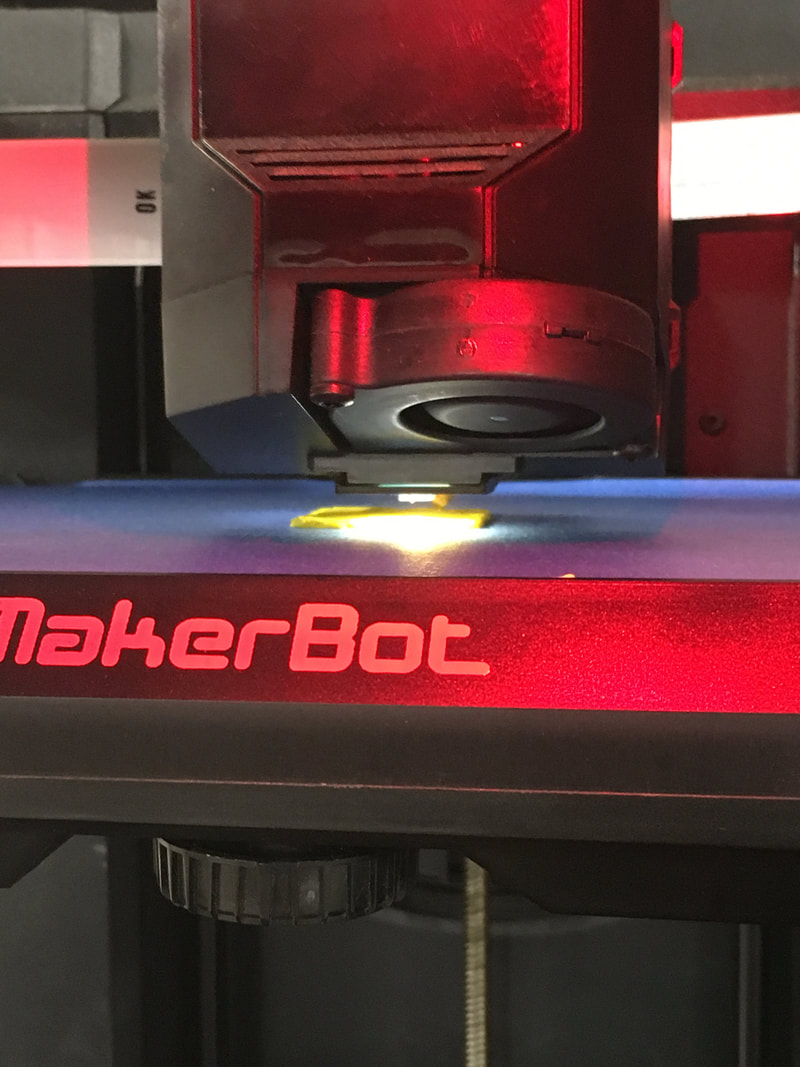
This is what it looks like in maker bot, and in the 3D printer before it prints!
|
|
1. Model the thing that you want to make in Inventor on a 2D plain, and then extrude it to the length that it is meant too be at.
2. Export the file to the Maker Bot software.
3. Rescale the model by 100% and rotate it to the side with the most surface area, and if there any overhanging pieces, make sure to add supports.
4. Save the Maker Bot software onto a flash drive.
5. Insert the flash drive into the 3D printer.
6. Then select USB on the printer, and then select the file you want.
7. Then press "OK" and then the printer should start heating up and start printing the plastic, as long as you have the right kind of plastic.
I learned how to use a 3D printer, and the Inventor and Maker Bot software. The software is very fascinating because there you can make anything you can think of, as long as is fits in the space that the printer allows. The 3D printers are very cool to, because they can show the kinds of things you can archive, as long as you can think of it!
